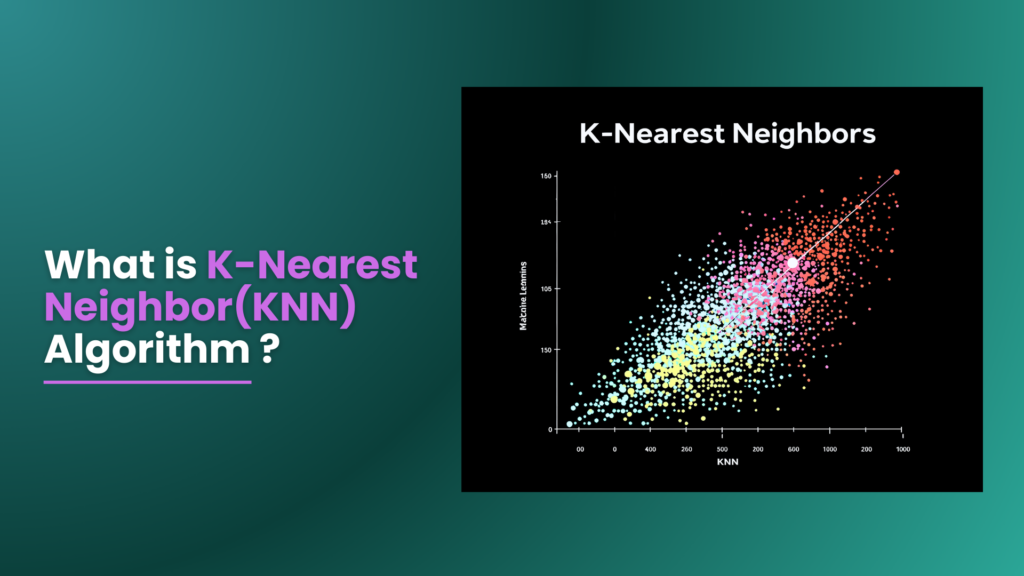

1. What is KNN?
KNN is a non-parametric, instance-based (or “lazy”) learning method.
Used for both:
- Classification: Predicts the class of a new data point by the majority class among its k nearest neighbors.
- Regression: Predicts the value of a new data point by averaging the values of its k nearest neighbors.
2. KNN Implementation in Python – Steps in Using KNN
- Choosing k
- A smaller k: Can lead to overfitting (the model becomes sensitive to noise).
- A larger k: Can lead to underfitting (the model may overlook important details).
2.1: Creating Feature & Target Arrays
from sklearn.datasets import load_iris

irisData = load_iris()
X = irisData.data      # Features
y = irisData.target    # Target
2.2: Splitting Data
Use train_test_split to split the data into training and test sets:
from sklearn.model_selection import train_test_split

X_train, X_test, y_train, y_test = train_test_split(
    X, y, test_size=0.2, random_state=42
)
2.3: Building the Model
Instantiate the classifier/regressor with a chosen k (e.g., n_neighbors=7):
from sklearn.neighbors import KNeighborsClassifier

knn = KNeighborsClassifier(n_neighbors=7)
knn.fit(X_train, y_train)  # Fit the model
2.4: Making Predictions
predictions = knn.predict(X_test)
print(predictions)
2.5: Measuring Accuracy
Quickly measure accuracy with .score() or other metrics:
from sklearn.metrics import accuracy_score

acc = knn.score(X_test, y_test)
# or: acc = accuracy_score(y_test, predictions)
print("Accuracy:", acc)
3. Finding the Optimal K
A straightforward method is to test different values of k and compare accuracy on training vs. test sets:
import numpy as np
import matplotlib.pyplot as plt
from sklearn.neighbors import KNeighborsClassifier
from sklearn.model_selection import train_test_split
from sklearn.datasets import load_iris

# Load data
irisData = load_iris()
X = irisData.data
y = irisData.target

# Split the dataset
X_train, X_test, y_train, y_test = train_test_split(
    X, y, test_size=0.2, random_state=42
)

neighbors = np.arange(1, 9)  # Trying k from 1 to 8
train_accuracy = np.empty(len(neighbors))
test_accuracy = np.empty(len(neighbors))

for i, k in enumerate(neighbors):
    knn = KNeighborsClassifier(n_neighbors=k)
    knn.fit(X_train, y_train)

    train_accuracy[i] = knn.score(X_train, y_train)
    test_accuracy[i] = knn.score(X_test, y_test)

# Plot results
plt.plot(neighbors, test_accuracy, label='Testing Accuracy')
plt.plot(neighbors, train_accuracy, label='Training Accuracy')
plt.xlabel('Number of Neighbors (k)')
plt.ylabel('Accuracy')
plt.legend()
plt.show()
By examining the resulting plot, you can see which k strikes the best balance between training and testing accuracy (i.e., avoids overfitting and underfitting).
4. Industry Practice: Hyperparameter Tuning
In practice, rather than manually looping over possible k values, you often use hyperparameter tuning techniques such as Grid Search or Randomized Search with cross-validation. For example:
from sklearn.model_selection import GridSearchCV

knn = KNeighborsClassifier()

# Parameter grid to explore different k values and weight schemes
param_grid = {
    'n_neighbors': np.arange(1, 21),
    'weights': ['uniform', 'distance']
}

# 5-fold cross-validation
grid_search = GridSearchCV(knn, param_grid, cv=5)
grid_search.fit(X_train, y_train)

print("Best Parameters:", grid_search.best_params_)
print("Best Score:", grid_search.best_score_)
This systematically tests various hyperparameters and reports which combination yields the best cross-validation performance.
5. Final Takeaways
- KNN is simple to understand and implement but can be computationally expensive for large datasets (it requires distance calculations to all training points for each prediction).
- Always remember to consider feature scaling (e.g., using
StandardScaler), since distance-based methods are sensitive to differences in feature scales. - Choice of k: Balance between overfitting (small k) and underfitting (large k).
- Evaluate your model using appropriate metrics (accuracy, F1 score, etc.) and hyperparameter tuning techniques to get the most out of KNN.
In short, the KNN algorithm is a powerful, beginner-friendly technique for classification and regression. By iterating over various k values (or employing a more systematic hyperparameter tuning approach), you can achieve an optimal balance in your model’s performance on both training and test data.

Satyam Sharma is a tech writer passionate about making complex topics in Machine Learning, Data Structures, and emerging technologies accessible and engaging. With a knack for breaking down intricate concepts, he crafts compelling articles, tutorials, and guides that bridge the gap between innovation and understanding. When he’s not writing, Satyam enjoys exploring the latest advancements in AI and contributing to open-source projects.